Intro
If you already have a running SharePoint On-Premises Environment and already have a lot of data in it, you can easily enhance this with our cool functionalities from Solution Studio Online!
Related Article:
How to install your Solution built with Solution Studio Online on SharePoint Server 2013 / 2016!
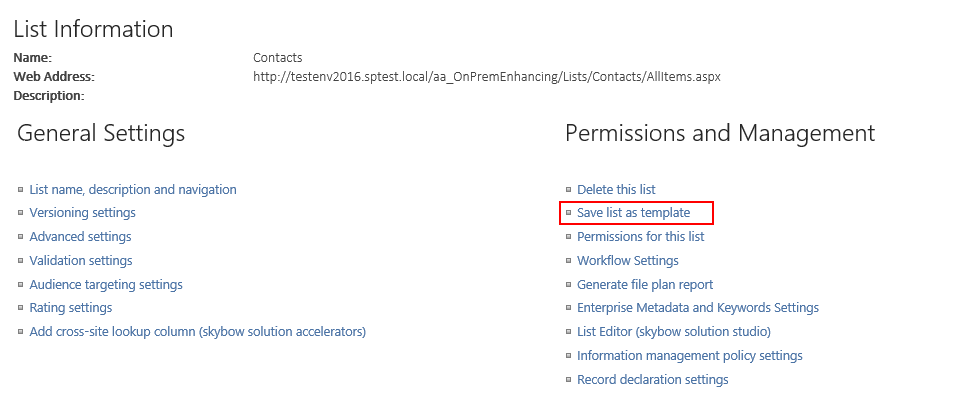
Save your current list configuration as template
In a first step we need to have the same Lists and its configuration on a SharePoint Online Site.
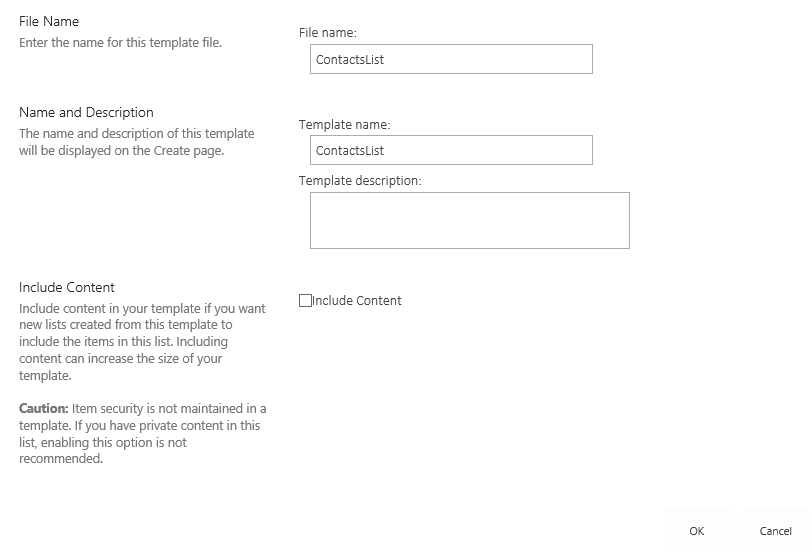
Save your lists as template:
You need to do this for all your lists you want to have in the solution and available for customization.
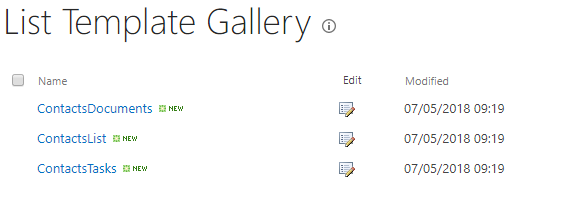
In this example we've exported 3 list templates, you can find them in the List Template Gallery of your SharePoint
By clicking on the Names you are able to download the *.stp files.
Create a Solution in Solution Studio
Log-In to https://solutions.skybow.com and create a new solution from scratch.
Information on how to build your own solution can be found on our YouTube channel or here Learning Solution Studio Online
After you have created the new Solution, navigate to the SharePoint site. You can click the play button at the top right corner.
Create the lists on your SharePoint Online
Import your list templates:
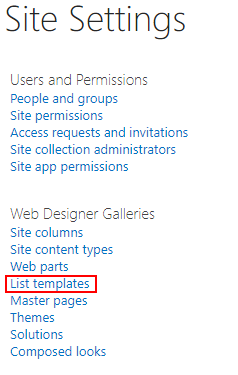
- Navigate to the Top Level of your Site Collection
- Under Site Settings select List templates
- Upload your *.stp files into this Gallery
Navigate to your Site and create the lists out of these templates, they should now be available under "Add an app".
The List Name / URL needs to be exactly the same as you have in your SharePoint On-Premises environment!
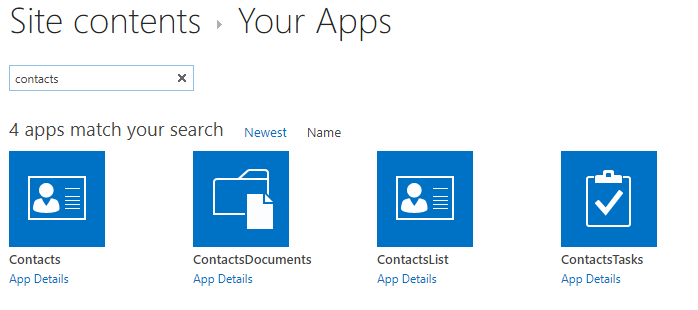
After you have added your lists they should be listed under Site Contents..
Add the Lists to your solution and do your customization on the lists
Navigate back to Solution Studio.
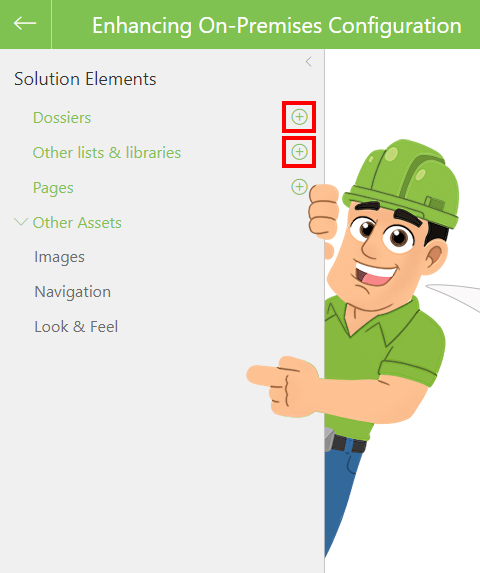
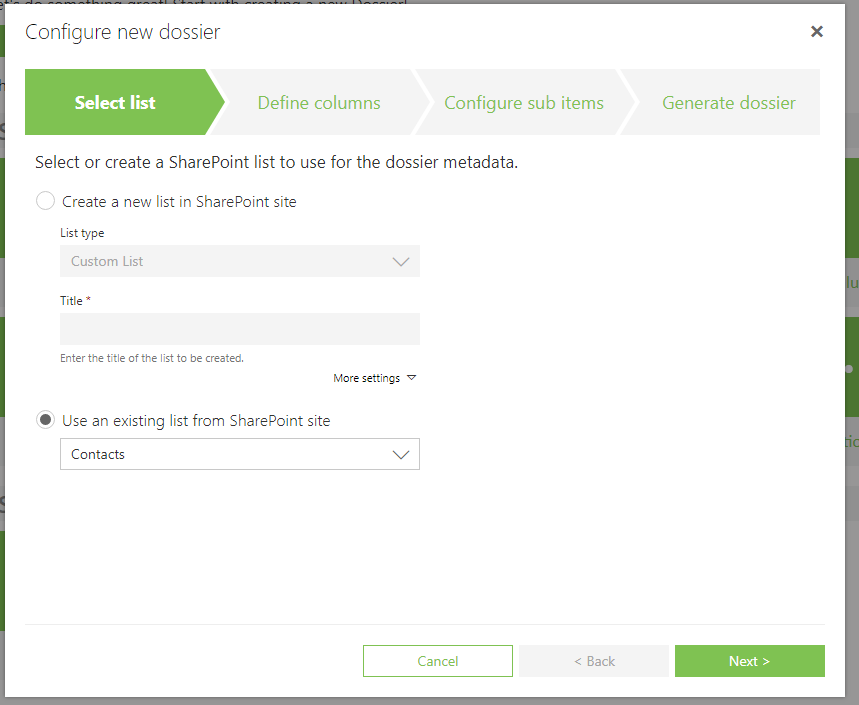
Click the plus button next to "Dossiers" or "Other lists & libraries" in the Solution Elements panel on the left.
Do not create a dossier if you've already modified the display form of your lists e.g. using our Rich Forms Add-In, otherwise it will be overwritten by the dossier wizard!
For such cases please choose "Other lists & libraries" and add the lists only without creating a dossier.
Select your existing list.
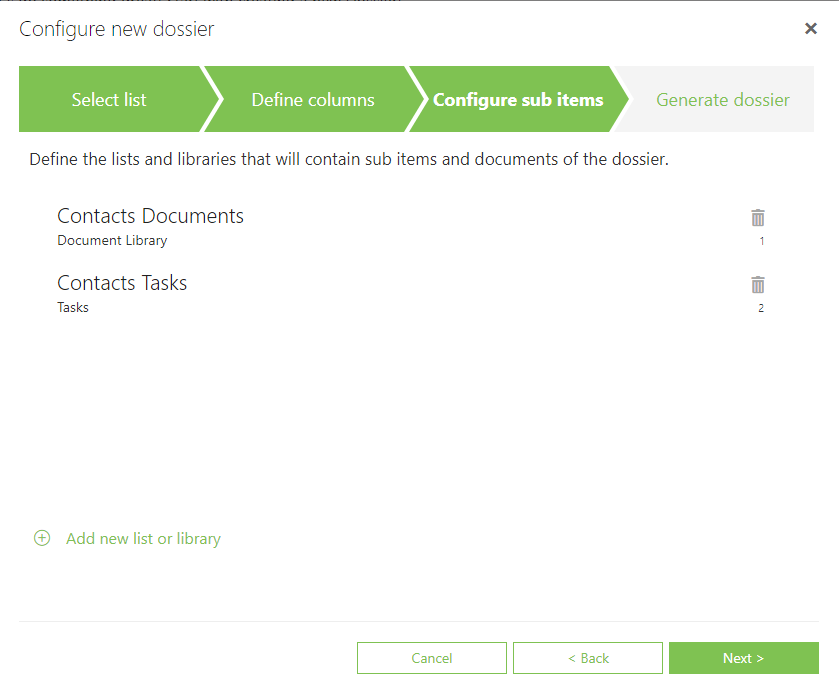
In the step of configuring sub items, select your sub-lists if you have some.
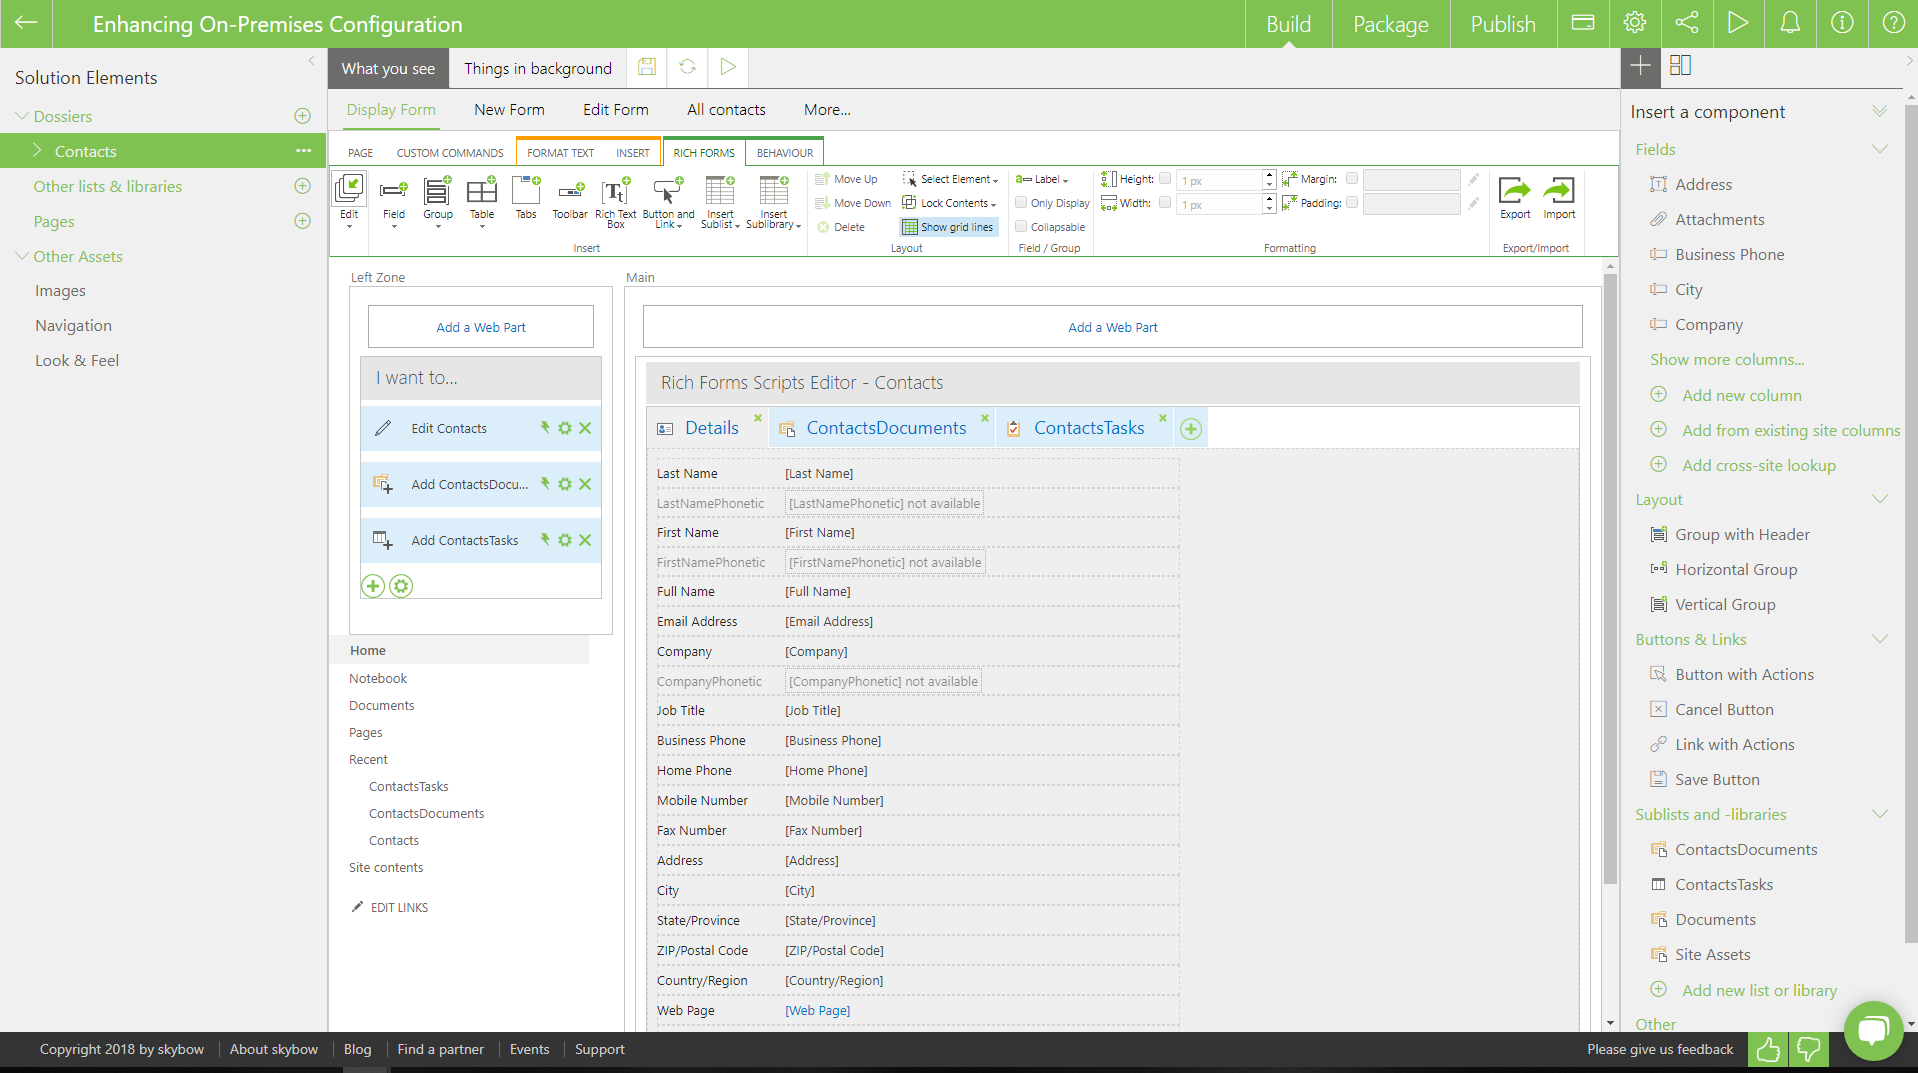
After the Wizard has finished you can see that you already have a really nice configured Dossier.
Now you can deploy your customization.
Package and Deploy your solution to your SharePoint On-Premises Environment
All the steps for deploying your solution and how to get a license are described in this KB Article:
How to install your Solution built with Solution Studio Online on SharePoint Server 2013/2016!
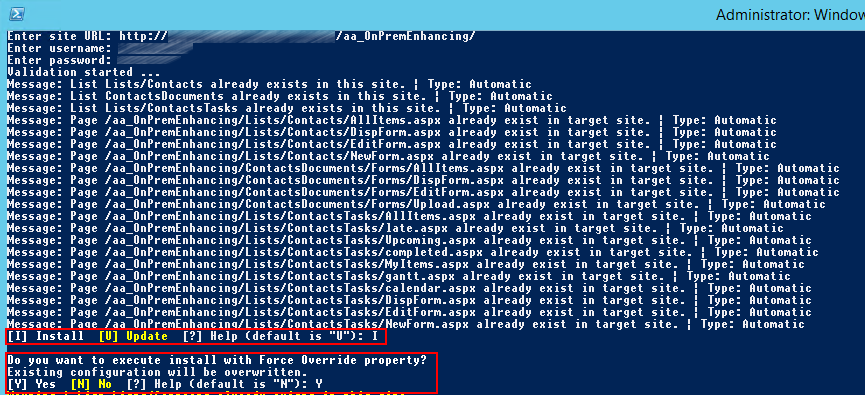
The first Installation step is Install (I) and force override (Y).
Force Overwrite will not delete existing data, we simply extend columns, views etc.
But it's anyway never a bad idea to create a backup of your site or lists first.
The next time you can use the update scenario.

